Way before smartphones ever existed—if you can still remember such a time—photography as an art form was quite labor intensive. People had to invest a lot of money to buy a fancy camera and editing software for their desktop computers; learning how each operated, too, was a process on its own. Compare that to the present day. Thanks to our mobile devices and the editing apps that come along with them, we all have mini production studios traveling around in our pockets.
Merely owning a device capable of photo magic, however, is not enough. Taking a great photo on your smartphone is not as simple as pointing and shooting. Luckily, we've got all the intel. Keep on reading to learn about tips for mobile photography and take your art form to the next level.

Balance your shot using grid lines
Turning on camera gridlines is one of the easiest ways to improve phone photography. The tool superimposes a series of lines on the screen of your smartphone's camera that are based on the 'rule of thirds'; a photo principle that states that an image should be broken down into thrids, both horizontally and vertically, adding up to nine parts in total.
You, therefore, have to work within the limits of the theory. Placing points of interest in these intersections or along the lines will make your photo more balanced, level, and allow viewers to interact with it more naturally.
To switch the grid on :
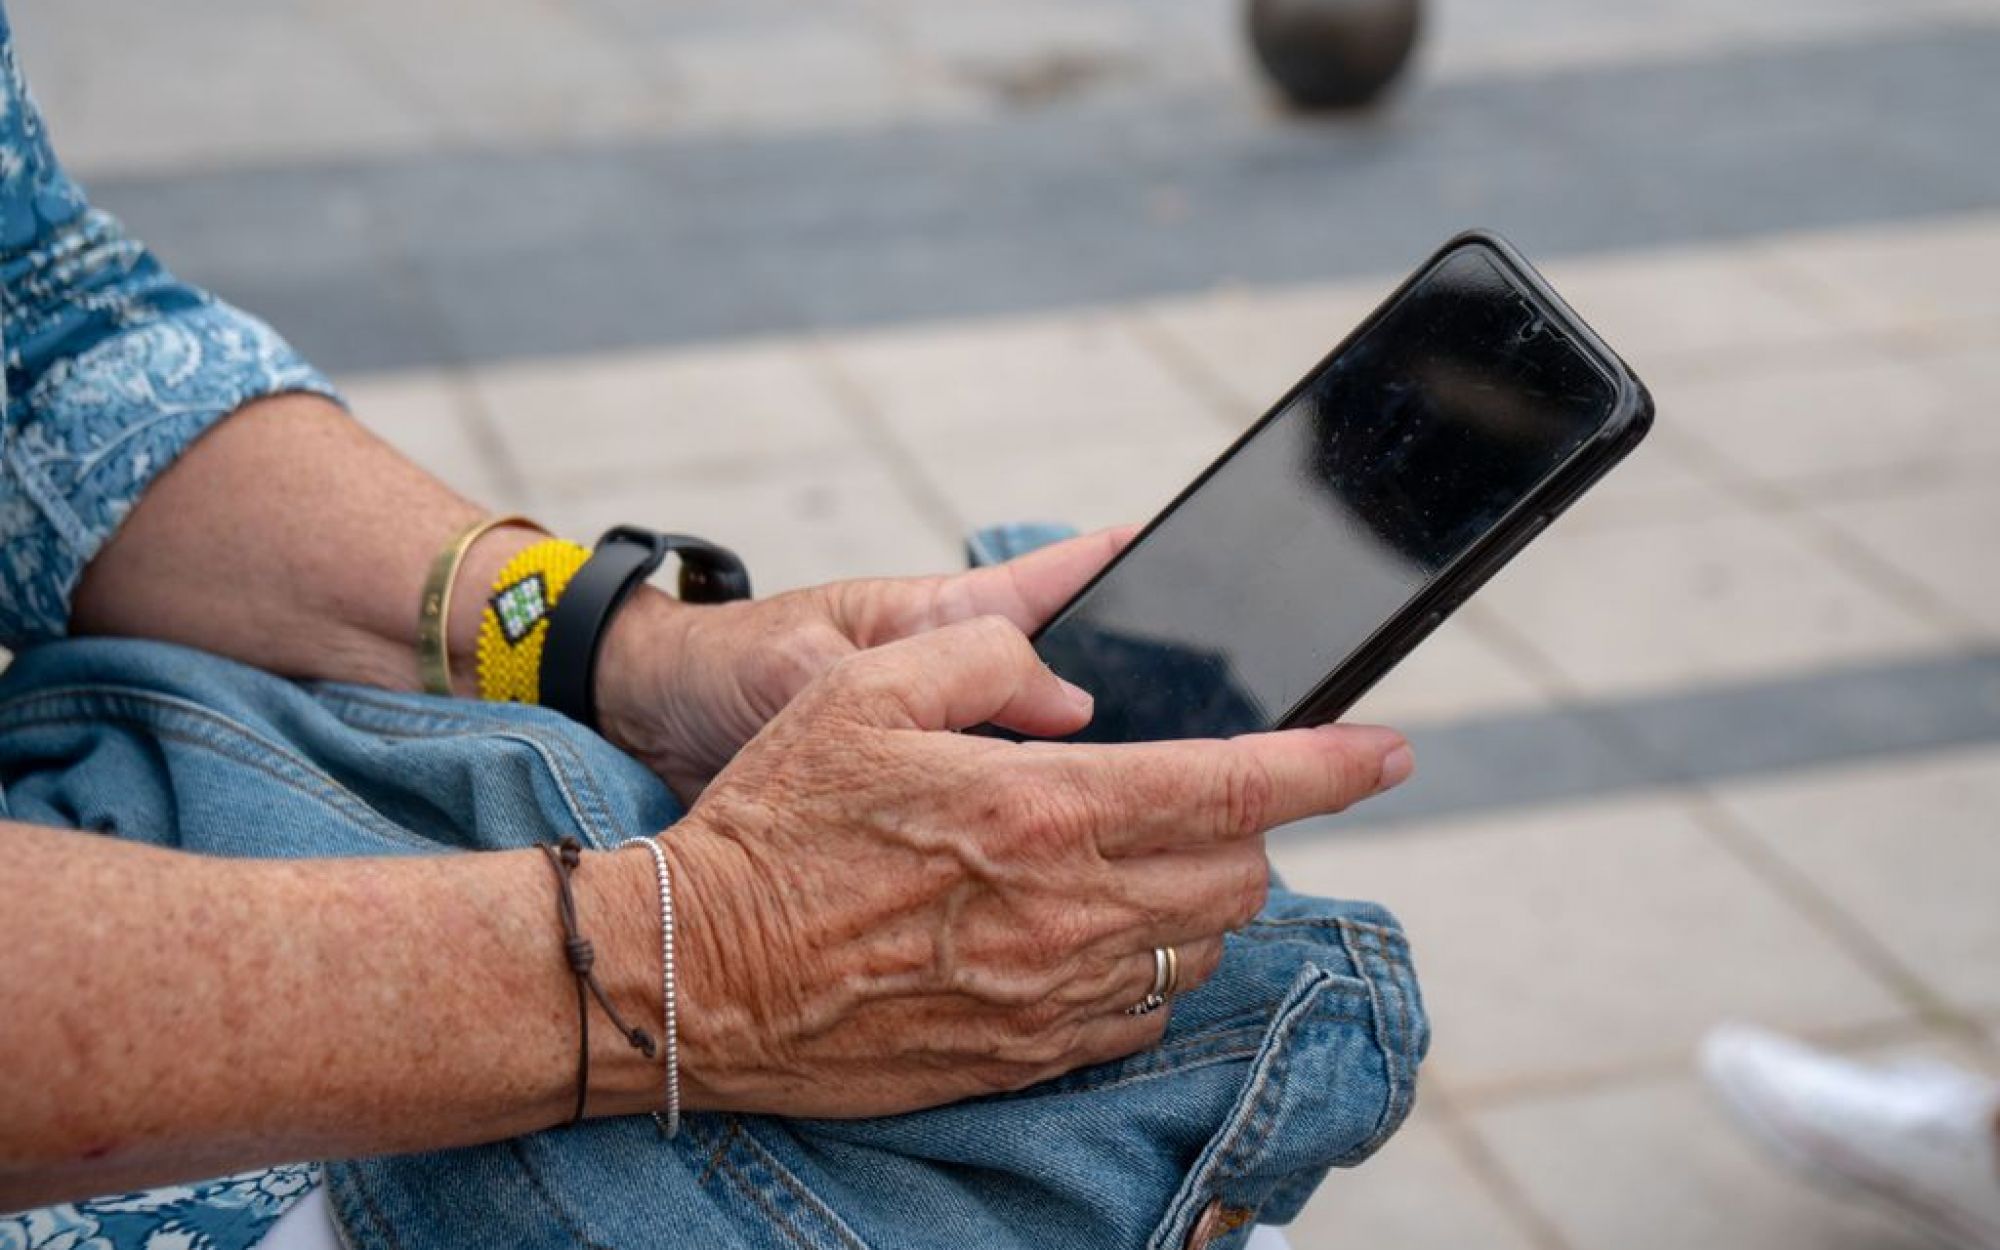
iPhone: Go to "Settings," choose "Photos & Camera," and switch "Grid" on.
Samsung Galaxy: Launch the camera app, go to "Settings," scroll down and switch the "grid lines" option to "on."
Focus, Focus, Focus
Phone cameras automatically focus on the foreground of your frame, but not every photo is going to have an obvious subject. Instead, to make your camera lens focus, open your camera app and tap the screen where you want to sharpen the view.
If you're snapping a shot of something in motion, for example, it can prove a hard feat for your camera to follow this subject and refocus by default. To fix this, tap the screen to correct your phone camera's focus just before snapping the picture to ensure the moving subject has as much focus as it needs.

Use Natural Lighting
It's hard to find a great smartphone photo that was taken with a flash. Most of the time, they make a photo look overexposed, negatively altering colors and making human subjects look washed out.
Take advantage of the sources of natural light you can find, even after dark. This gives you a chance to play with shadows, like in the second image below, or create a silhouette with other ambient sources of light, like traffic and surrounding buildings.
Once you've taken the photo, play with the "Exposure" tool in your favorite photo editing app to see if you can make the image slightly brighter, without making it too grainy.
Seek out Reflections
There's something to seeing the sky reflected in a body of water. We're naturally drawn to seeing reflections, so look for opportunities to play with them in photos. There are plenty of unique places to find these reflections, too. Be on the lookout for puddles, larger bodies of water, mirrors, sunglasses, drinking glasses and metallic surfaces are just a few.

Think Outside the Box
Taking photos from unconventional angles can make them more memorable. If you ever plan to sell stock images online, you'll find that unique perspectives are always in demand; so get to work. Look around for angles that are rarely seen in popular tourist destinations around your town. Mess around with perspectives, and find ways to distort depth or height within your subjects.
Manually set your camera's exposure
Another mobile camera feature you'll want to set manually is your exposure. Tapping your screen when your phone's camera is on doesn't just refocus the lens on a new subject — it also automatically adjusts how much light the camera lets in. This, too, won't always look just right. It's best to adjust it by hand.
To change your mobile camera's exposure by hand, open your camera app and tap the screen. When you see the lens refocus, you'll see a very small sun icon and a vertical scale. Slowly swipe your finger up and down this scale to adjust the light level.
Get an External Lens
Want to get really fancy? External lenses are for you. There are actually several out there that can be attached to the top of your smartphone's native camera lens — from fish-eye to wide-angle lenses, these add-ons can bring entirely new quality and perspective to your travel photography.