Learning everything there is to know about natural light is one of the cornerstones of photography. Changes in daylight require different camera settings or tools that help you achieve the best possible results. Perhaps the most important element to all of this is the time of day; understanding how light can look during blue hour, golden hour, and midday is going to take your work to a whole other level. Read through our compiled best practices for capturing daylight at different times.

Blue Hour
Unveiling itself at daybreak, blue hour is the time of day classified as just before sunrise and after sunset. The sun is approximately four to eight degrees below the horizon, emitting a deep, dark blue color into the atmosphere. The advantages of shooting at blue hour are aplenty. Compared to golden hour, there are far fewer photographers shooting at this time; giving you just the creative edge that you need. Plus, the color blue can be used to convey a myriad of emotions, including serenity, sadness, melancholy and more.
Blue hour also gives you flexibility when choosing your settings. The key factor to keep in mind is that blue hour is a period of relatively low light, meaning you will need longer shutter speed to obtain good exposure. Generally, you'll want a narrow aperture to render the entire landscape in focus. You'll also need a camera mode offering control over your exposure variables. A great place to start with blue hour is to set your camera's ISO at 100 and use a smaller aperture of around f/7 to f/11. Adjust the f-number depending on your needs and preferences.

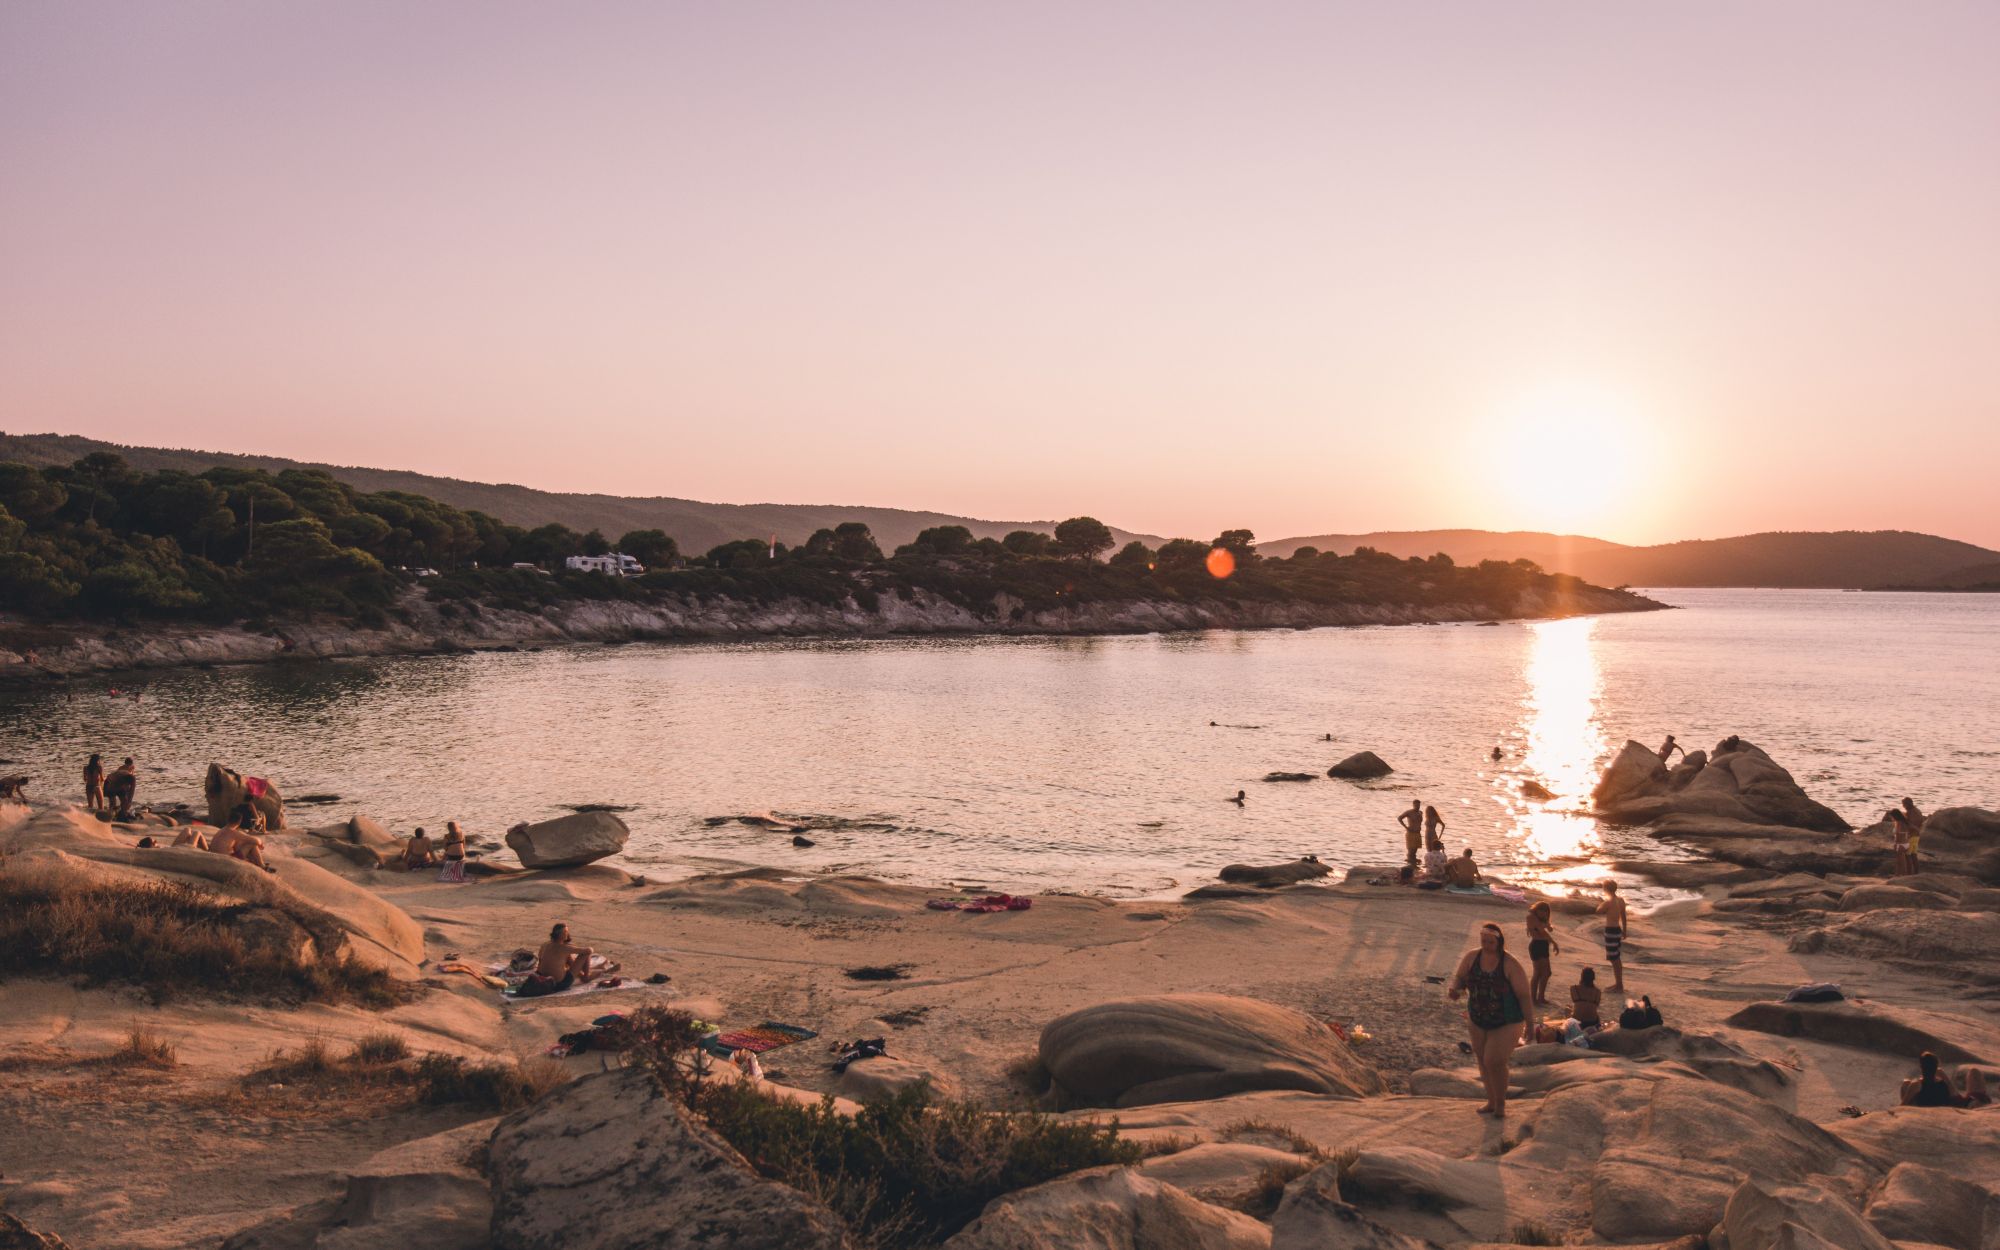
Golden Hour
Occurring shortly after blue hour at sunrise and before blue hour at sunset, golden hour casts a soft and radiant glow over anything you shoot. It is regarded as one of the best times of day to shoot, but you'll still need to have the correct settings to produce the best possible results.
The challenge with golden hour photography is that the light varies quite a lot. This means you will have to adjust your camera settings as the light evolves. The easiest way to do that is to use Aperture Priority mode; it allows you to choose the aperture that best fits the circumstances, while automatically changing the shutter speed to adapt to the sun getting brighter and darker. When shooting portraits, you might want to use a wider aperture (smaller f-stop). This will make the foreground and background blurry while keeping your subject perfectly in focus.

Midday
The time of day when the sun has reached the highest point in the sky is midday. This is when you get your brightest shots, with a greater degree of contrast with highlights and shadows. Midday is a landscape photographer's best friend—the same cannot be said about portraits, unfortunately. Eyebrows and foreheads can create unflattering shadows over a subject's eye sockets. Fortunately, there are ways you can deal with the at-times harsh light source with the following tips.
Firstly and most importantly, close the aperture. Given the fact that you're working with harsh and bright light, you're going to want to reduce the amount of light that's hitting your lens and reaching your camera's sensor. So, set the aperture to around f/11. You might also find that the exposure meter is jumping from left to right as your camera struggles to find the right exposure. One reason for this could be that your camera is set to auto mode. In this case, your camera is doing the absolute most trying to figure out the correct exposure based on shadows and highlights that appear in frame. This is exactly why you'll need your camera in manual mode, so you can control the shutter speed for exposure.